WebSocket connections are provided by Plugin_Remote. Please make sure this plugin is enabled before use.
WebSocket Communication #
Supports connection/control via WebSocket. MMDAgent-EX acts as a client and connects to the WebSocket server specified in the .mdf. Once the connection is established, all MMDAgent-EX messages are sent to the server. Text sent from the server to the socket is emitted as messages inside MMDAgent-EX.
Configuring the MMDAgent-EX Connection #
Specify the WebSocket server’s host name, port number, and path in the .mdf. Providing these settings enables this feature.
Plugin_Remote_Websocket_Host=localhost
Plugin_Remote_Websocket_Port=9001
Plugin_Remote_Websocket_Directory=/chat
For WebSocket Secure (WSS) servers (those using the wss scheme like wss://foo.bar.com/channel), set the port to 443. The ws:// scheme uses port 80.
Plugin_Remote_Websocket_Host=foo.bar.com
Plugin_Remote_Websocket_Port=443
Plugin_Remote_Websocket_Directory=/channel
WebSocket and TCP/IP cannot be configured at the same time. When using WebSocket, remove TCP/IP server/client settings from the .mdf.
Example 1: Receiving Messages from MMDAgent-EX #
The following is a server-side sample. This program starts a WebSocket server on port 9001 and prints messages received from an MMDAgent-EX that connects locally. Install asyncio and websockets via pip beforehand.
import asyncio
import websockets

# handler for each connection
async def handle_client(websocket, path):
    print("connected")
    async for message in websocket:
        print(f"Received message: {message}")

# main
async def main():
    async with websockets.serve(handle_client, "localhost", 9001):
        await asyncio.Future()  # run forever

if __name__ == '__main__':
    asyncio.run(main())
After starting the above, start MMDAgent-EX with a .mdf containing the following settings.
Plugin_Remote_Websocket_Host=localhost
Plugin_Remote_Websocket_Port=9001
Plugin_Remote_Websocket_Directory=/chat
After startup and once the connection is established, messages received from MMDAgent-EX will be displayed in the program as they arrive.
Example 2: Sending and Receiving Messages Simultaneously #
Let’s extend the above program to perform sending in parallel as well. The program below:
- prints messages received from MMDAgent-EX
- sends a message
TEST_MESSAGEto MMDAgent-EX every 2 seconds
This example performs both actions. It uses asynchronous I/O and creates separate async tasks for receiving and sending with asyncio.create_task().
Warning: Note that each sent message must end with a newline ("\n"). MMDAgent-EX treats a newline as the message delimiter.
import asyncio
import websockets
import time

##################################################
# handler for received messages
async def consumer_handler(websocket):
    async for message in websocket:
        print(f"Received message: {message}")

##################################################
# handler to send message: you must append "\n" for each message!
async def producer_handler(websocket):
    while True:
        await asyncio.sleep(2)
        message = "TEST_MESSAGE\n"
        await websocket.send(message)

##################################################
# handler for each connection
async def handle_client(websocket, path):
    # create task to read from the socket
    consumer_task = asyncio.create_task(consumer_handler(websocket))
    # create task to write to the socket
    producer_task = asyncio.create_task(producer_handler(websocket))
    # wait at least one task has been terminated
    done, pending = await asyncio.wait(
        [consumer_task, producer_task],
        return_when=asyncio.FIRST_COMPLETED,
    )
    # cancel other task and close connection
    for task in pending:
        task.cancel()

# main
async def main():
    async with websockets.serve(handle_client, "localhost", 9001):
        await asyncio.Future()  # run forever

if __name__ == '__main__':
    asyncio.run(main())
After starting this server and launching MMDAgent-EX, press the d key and verify that the test message (TEST_MESSAGE) from the server arrives every 2 seconds as shown below.
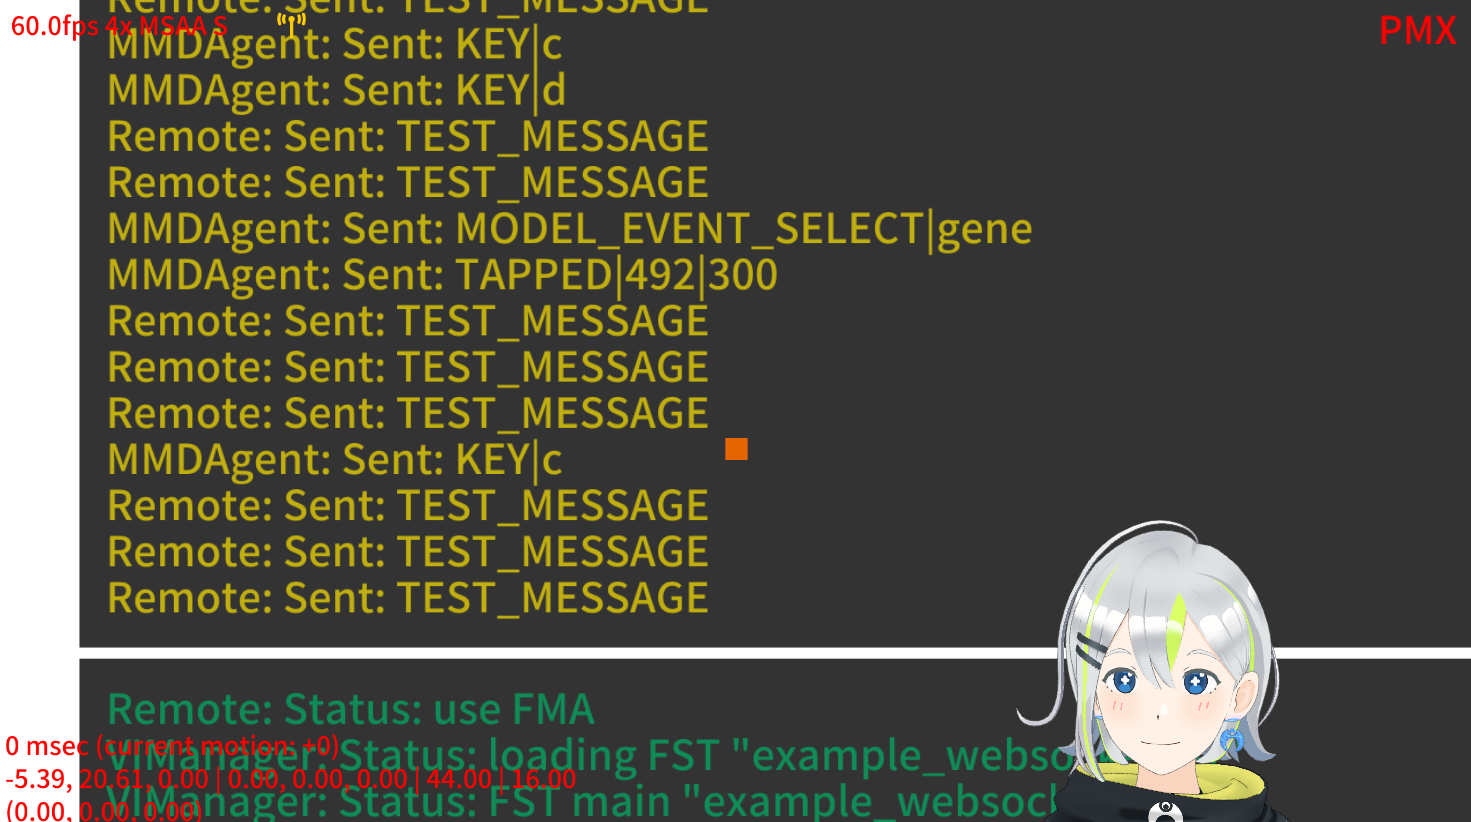
The same settings and programs are included in the Example’s example_websocket folder for testing.